
Kenmore Gas Range Manual: A Comprehensive Guide
This manual offers detailed instructions for Kenmore gas ranges, covering installation, operation, maintenance, and troubleshooting, including specific model details like 970C503720 and 74343.
Understanding Your Kenmore Gas Range
Your Kenmore gas range is a sophisticated appliance designed for efficient and reliable cooking. This section introduces the core components and functionalities, ensuring a safe and enjoyable experience. Familiarize yourself with the cooktop burners, oven controls, and self-cleaning features.
Understanding the specific model number – such as 970C503720 or 74343 – is crucial for accessing the correct parts and documentation. The range utilizes a thermopile assembly (100112328) for safety, and a high limit thermostat (318003615-ER) to prevent overheating.
Proper operation involves understanding burner ignition, flame adjustment, and oven modes like baking and broiling. Regularly consult Sears Owners Manuals for detailed guidance and maintenance schedules. Knowing your range’s features will maximize its performance and longevity;
Safety Precautions
Prioritizing safety is paramount when operating your Kenmore gas range. Always unplug the range before performing any maintenance, such as replacing the oven igniter (WB29K10024). Ensure proper ventilation during use to prevent carbon monoxide buildup.
Never leave the range unattended while in operation. Keep flammable materials away from burners and the oven. Exercise caution during the self-cleaning cycle, as the oven reaches extremely high temperatures.
If you smell gas, immediately shut off the gas supply and contact a qualified technician. Regularly inspect the gas connections for leaks. Familiarize yourself with the high limit thermostat’s function (318003615-ER) to prevent overheating. Adhering to these precautions will ensure a safe cooking environment for you and your family.
Initial Setup and Installation
Proper installation is crucial for the safe and efficient operation of your Kenmore gas range. Before installation, verify that the gas supply is compatible and meets local codes. Ensure the range is level to guarantee even cooking.
Remove all packaging materials, including any protective films. Carefully inspect the range for any damage incurred during shipping. Connect the gas supply line using approved fittings, checking for leaks with a soap solution.
Refer to the exploded diagram (model 970C503720) for component locations. Confirm the thermopile assembly (100112328) is correctly installed. Finally, plug in the range and test all burners and oven functions before first use.
Control Panel Overview
The Kenmore gas range control panel provides intuitive access to all cooking functions. Familiarize yourself with the burner controls, oven settings, and any additional features your model (like 74343) may offer.
The burner controls allow precise flame adjustment for each cooktop element. Oven controls typically include mode selection (bake, broil), temperature settings, and timer functions. Understanding these settings is key to successful cooking.
Refer to the manual for specific details on each control’s operation. Note the location of safety features, such as the high limit thermostat/thermal fuse (318003615-ER), and understand their purpose. Proper use ensures optimal performance and safety.
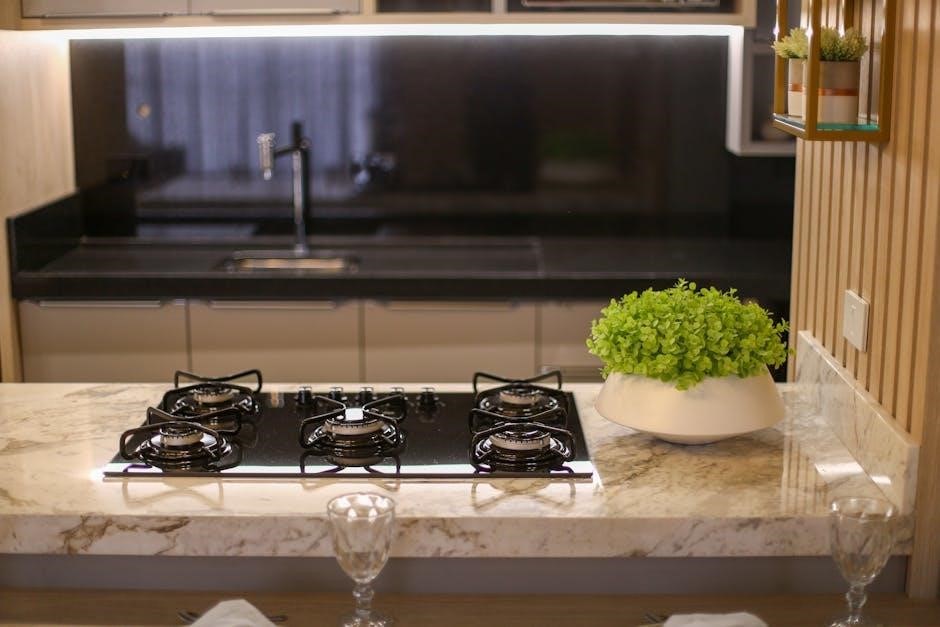
Understanding the Burner Controls
Kenmore gas range burner controls regulate gas flow to each cooktop element, dictating flame size and heat output. Typically, these controls feature a knob with marked settings, ranging from “Off” to high heat.
To ignite a burner, push and turn the knob to the “Lite” or “High” position. This activates the igniter, initiating the gas flow. Once lit, you can adjust the flame by turning the knob to the desired setting.
Ensure the burner flame is blue and stable. A yellow or flickering flame indicates incomplete combustion and may require cleaning. Always turn the control fully to the “Off” position when finished cooking.
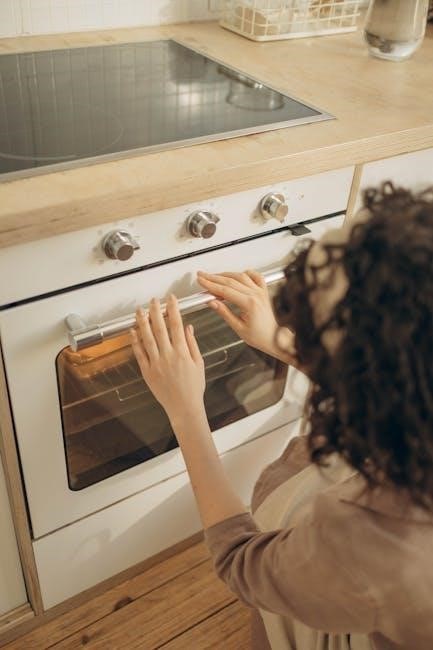
Oven Control Settings
Kenmore gas range oven controls provide options for baking, broiling, and self-cleaning. The control panel typically features dials or electronic buttons to set temperature and cooking mode. For baking, select the “Bake” setting and set the desired temperature using the control knob or digital display.
The “Broil” setting directs intense heat from the top element, ideal for searing or browning. Always use the broil pan and keep the oven door slightly ajar during broiling.
The self-cleaning cycle utilizes high temperatures to burn off food residue; ensure the oven is empty before initiating this function.
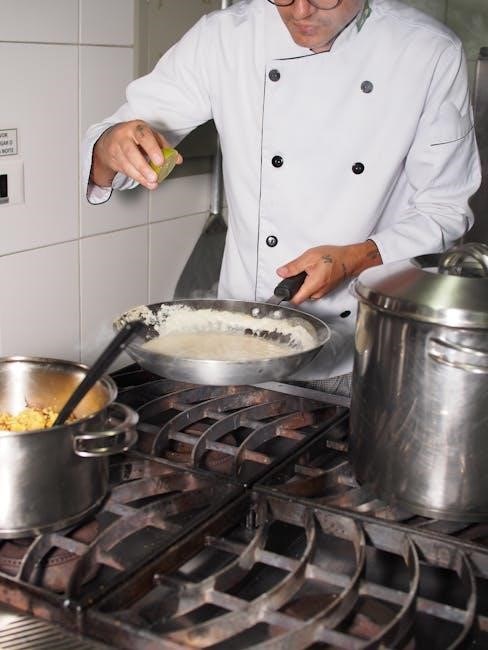
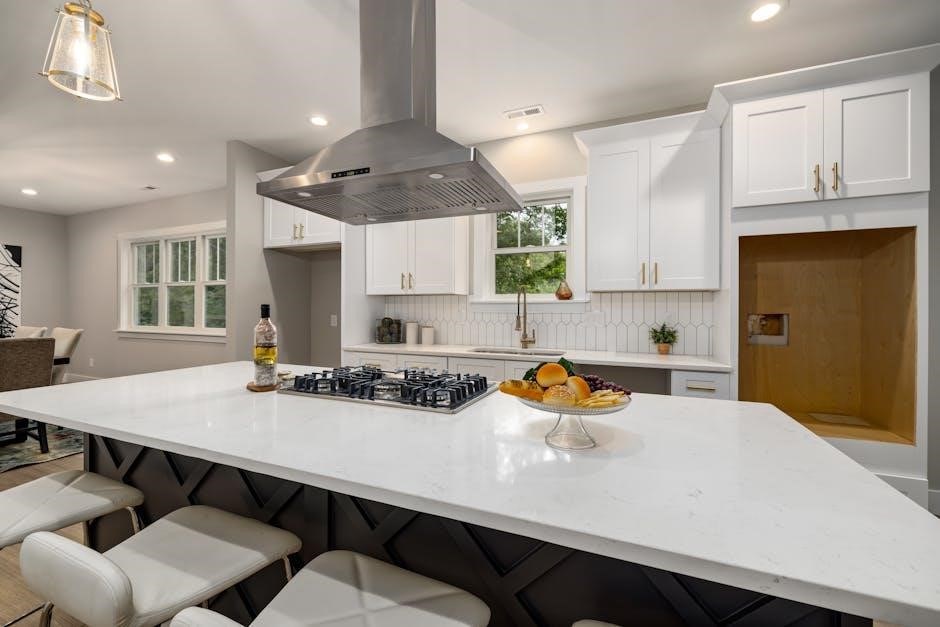
Using the Cooktop
The Kenmore gas range cooktop offers precise heat control for various cooking needs. To ignite a burner, first, ensure the grate is properly positioned. Then, push and turn the burner control knob to the “Light” or “High” position. You should hear a clicking sound as the igniter sparks.
Continue holding the knob in for a few seconds after ignition to allow the flame to stabilize. Adjust the flame size by turning the knob between “High” and “Low” – higher numbers indicate greater heat output.
Always use appropriate cookware and exercise caution when working with open flames.
Igniting the Burners
Successfully igniting the burners on your Kenmore gas range is a fundamental skill. Begin by verifying the grate is securely in place above the burner. Next, gently push in and simultaneously rotate the burner control knob to the “Light” or “High” setting. This action activates the electronic igniter, producing a clicking sound.
Maintain pressure on the knob for approximately 5-10 seconds after hearing the clicking, allowing the gas to flow and ignite. If the burner doesn’t light within this timeframe, release the knob and wait a few minutes before attempting again. Ensure no spills or debris obstruct the burner ports.
Adjusting Flame Size
Precisely controlling the flame size is crucial for optimal cooking results. After successful ignition, you can adjust the flame height by rotating the burner control knob. Turning the knob clockwise increases the flame, while rotating it counterclockwise decreases it.
A higher flame is ideal for rapid heating, boiling, or searing, while a lower flame is suitable for simmering or gentle cooking. Observe the flame; a steady, blue flame indicates efficient combustion. A yellow or flickering flame suggests insufficient air and may require cleaning. Always adjust the flame to match the size of your cookware for even heating and energy efficiency.
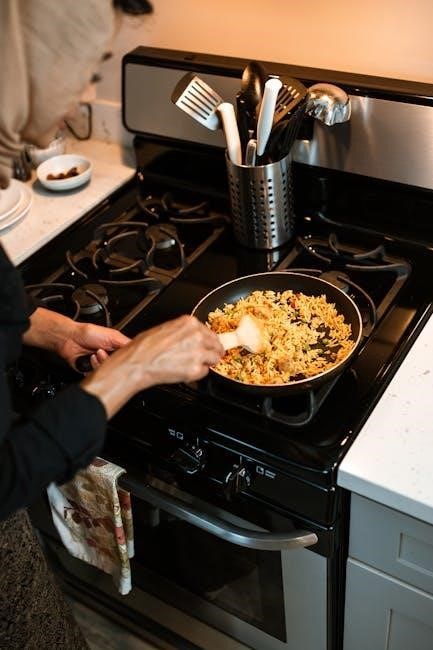
Oven Operation
Your Kenmore gas range oven offers versatile cooking options, primarily through Baking and Broiling modes. Before operation, ensure the oven is properly preheated to the desired temperature. Utilize the oven control settings to select the appropriate mode and temperature. Baking is ideal for cakes, cookies, and casseroles, providing consistent heat from all directions.
Broiling, conversely, uses intense radiant heat from above, perfect for searing meats or browning dishes quickly. Always use broil-safe cookware and monitor food closely to prevent burning. Refer to your recipe for recommended temperatures and cooking times for optimal results in either mode.
Baking Mode
Utilizing the Baking mode on your Kenmore gas range ensures even heat distribution, crucial for consistent results when preparing cakes, breads, cookies, and casseroles. Preheat the oven thoroughly before placing food inside; this guarantees accurate cooking temperatures. Select the desired temperature using the oven control settings, and monitor progress through the oven window.
For optimal baking, position oven racks in the center. Avoid overcrowding the oven, as this can impede airflow and affect cooking times. Baking times will vary depending on the recipe and quantity of food. Always check for doneness using a thermometer or by visual inspection, ensuring food is cooked through before serving.
Broiling Mode
The Broiling mode on your Kenmore gas range delivers intense, direct heat from above, perfect for quickly browning or cooking foods like steaks, chops, and vegetables. Before broiling, position the oven rack to the highest or second-highest level, depending on the desired level of browning. Preheat the broiler for several minutes to ensure optimal temperature.
Place food on a broiler pan, leaving space around the edges for air circulation. Monitor food closely during broiling, as it cooks rapidly and can burn easily. Turn food halfway through the cooking process for even browning. Always use oven mitts when handling hot broiler pans and food.
Self-Cleaning Cycle
The Self-Cleaning cycle on your Kenmore gas range utilizes extremely high temperatures to burn off food residue within the oven interior, eliminating the need for manual scrubbing. Before initiating the cycle, remove all racks, cookware, and any loose debris from the oven. Ensure the oven door can lock securely.
Select the desired cleaning cycle length – typically ranging from two to four hours – based on the level of soil. The door will automatically lock during the cycle and remain locked until the oven cools sufficiently. A burning odor is normal during self-cleaning; ensure adequate ventilation. Once complete, allow the oven to cool before wiping away any remaining ash.
Troubleshooting Common Issues
Encountering problems with your Kenmore gas range? Several issues have straightforward solutions. If a burner fails to ignite, check the gas supply and ensure the igniter is glowing. A faulty igniter (part number WB29K10024) may require replacement; If the oven isn’t heating, verify the oven temperature setting and check for a tripped circuit breaker.
For gas ranges, a malfunctioning thermopile assembly (100112328) can prevent continuous gas flow. A blown high limit thermostat/thermal fuse (318003615-ER) can also cause heating issues. Always unplug the range before attempting any repairs. Consult the exploded diagrams (model 970C503720) for part locations and further assistance.
Burner Won’t Ignite
If a burner on your Kenmore gas range isn’t igniting, begin by verifying the gas supply is turned on. Next, inspect the burner ports for any blockages – food debris or spills can obstruct gas flow. Ensure the igniter is visibly glowing when the control knob is turned to the ‘light’ or ‘ignite’ position.

A common culprit is a faulty igniter, identified by part number WB29K10024, which may require replacement. Before replacing, double-check the electrical connection. If the igniter glows but the burner still doesn’t light, a problem with the thermopile assembly (100112328) could be the cause, preventing gas valve operation. Always disconnect power before inspection.
Oven Not Heating
When your Kenmore gas range oven fails to heat, first confirm the oven control settings are correct – ensure it’s set to ‘bake’ or ‘broil’ and the desired temperature is selected. Check the gas supply to the range; a disrupted supply will prevent heating. A malfunctioning oven igniter (part number 5303935066) is a frequent cause, preventing gas ignition within the oven chamber.
Inspect the high-limit thermostat/thermal fuse (318003615-ER), as a tripped fuse will cut off gas flow for safety. If the igniter glows but no heat develops, the issue might lie with the gas valve. Always disconnect the range from power before attempting any repairs or inspections. Professional assistance is recommended for gas-related repairs.
Replacing the Oven Igniter (Part Number WB29K10024)
To replace the oven igniter (WB29K10024) on a GE or Kenmore range, begin by completely disconnecting the range from its power source – safety is paramount. Remove the oven grate and any burner components obstructing access to the igniter location. Carefully detach the wires connected to the existing igniter, noting their positions for correct re-installation.
Unscrew the old igniter and install the new one, ensuring a secure fit. Reconnect the wires precisely as they were before. Replace the grate and any removed components. Before restoring power, double-check all connections. Test the oven to confirm the igniter is functioning correctly and the oven heats as expected.
Understanding Exploded Diagrams and Parts Lists (Model 970C503720)
Exploded diagrams for Kenmore gas range model 970C503720 are invaluable for repairs, visually breaking down the appliance into individual components. These diagrams, often accompanied by detailed parts lists, identify each part with a number, description, and corresponding part number. This allows for accurate identification when ordering replacements.
Parts lists categorize components by section – cooktop, oven, control panel, etc. – simplifying the search process. Understanding these diagrams helps locate specific parts and visualize their assembly. Resources often group parts, aiding in complete repair kits. Always verify the part number before ordering to ensure compatibility with your specific model.
Gas Range Parts Identification
Identifying key components of your Kenmore gas range is crucial for maintenance and repair. Essential parts include the burner grates, burner caps, and burner heads, responsible for flame production. The oven igniter (part number WB29K10024) initiates gas ignition within the oven. The thermopile assembly (100112328) generates electricity from heat, powering the gas valve.
Safety components like the high limit thermostat/thermal fuse (318003615-ER) prevent overheating. Understanding the function of each part – from the control panel to the gas valve – aids in diagnosing issues. Detailed parts lists and exploded diagrams, specific to models like 970C503720, are essential resources.
Identifying Key Components
Essential components of your Kenmore gas range include the burner grates, caps, and heads, directly impacting cooktop performance. The oven igniter (WB29K10024) is vital for initiating the baking and broiling process. A functioning thermopile assembly (100112328) provides power to the gas valve, ensuring consistent gas flow.
Safety is paramount; the high limit thermostat/thermal fuse (318003615-ER) prevents dangerous overheating. The control panel manages oven and burner settings. Familiarizing yourself with these parts, and referencing exploded diagrams for models like 970C503720, simplifies troubleshooting and maintenance, extending the life of your appliance.
Thermopile Assembly Compatibility (100112328)
The 100112328 thermopile assembly is designed for broad compatibility, functioning seamlessly with various gas water heater and range brands. This includes Reliance, Whirlpool, A.O. Smith, and, crucially, Kenmore models. Its primary role is to generate the millivolts necessary to keep the gas valve open, ensuring a continuous flame.
Proper thermopile function is critical for safe and reliable operation. If your range exhibits a burner that repeatedly goes out, or struggles to stay lit, a faulty thermopile is a likely culprit. Replacing it with the compatible 100112328 assembly can restore consistent performance and prevent potential gas leaks.
High Limit Thermostat/Thermal Fuse Replacement (318003615-ER)
The FRIGIDAIRE 318003615-ER is a crucial safety component – a high limit thermostat, also known as a thermal fuse – designed to prevent overheating in your Kenmore gas range. It’s essential to always disconnect the appliance’s power supply before attempting any repairs, including this replacement.
If your oven isn’t heating, or shuts off unexpectedly during a cycle, a blown thermal fuse is a common cause. This fuse intentionally breaks the circuit when a dangerous temperature is reached, protecting against fire hazards. Replacing it with a new 318003615-ER unit restores oven functionality, but remember to address the underlying cause of the overheating to prevent recurrence.
Kenmore Gas Range Model 74343: Features and Price
The Kenmore Model 74343 gas range is positioned as a mid-to-high-end appliance, currently priced around $1,400. While not the cheapest option available – with some models found for under $400 – it offers a compelling combination of features and aesthetics. This particular model boasts a convection gas oven, providing more even heating for consistent baking and roasting results.
Its attractive design and convection capabilities justify the price point for consumers seeking a balance between performance and style. The range is well-suited for households prioritizing cooking quality and a modern kitchen appearance, offering a reasonable investment for a reliable gas range.
Accessing Sears Owners Manuals
Sears provides access to a vast archive of owners manuals for Kenmore appliances, including gas ranges. These resources are invaluable for understanding your specific model’s operation, maintenance requirements, and safety guidelines. You can locate manuals online through the Sears website, often by searching for your appliance’s model number – for example, 970C503720 or 74343.
Beyond gas ranges, Sears also offers manuals for other Craftsman products, such as belt disc sanders (Model 113226431) and planers (351.233731); These digital manuals are typically available as downloadable PDFs, offering convenient access to information whenever you need it, ensuring proper appliance usage and longevity.
Parts Manuals for Related Appliances (True ― GDM-49)
While focused on Kenmore gas ranges, understanding parts resources for related appliances can be beneficial. For instance, detailed parts manuals exist for True refrigeration units, specifically the GDM-49 model. This 14-page manual lists over 100 individual parts, complete with numbers, descriptions, and diagrams, aiding in identification and replacement.
Although seemingly unrelated to gas ranges, accessing such detailed documentation highlights the importance of comprehensive parts information for appliance repair. Knowing where to find these resources – even for other brands – can prove useful when diagnosing issues or sourcing replacement components, ensuring efficient maintenance and extending appliance lifespan.
Maintenance and Cleaning
Regular maintenance ensures optimal performance and longevity of your Kenmore gas range. Consistent cleaning prevents buildup that can affect burner efficiency and oven temperature accuracy. Always unplug the range before performing any maintenance. Clean the cooktop with a mild detergent and water, avoiding abrasive cleaners that can damage the surface.
Periodically inspect burner ports for clogs and clear them with a thin wire. The oven interior benefits from regular cleaning, and the self-cleaning cycle offers a convenient option. Remember to remove all racks and accessories before initiating the self-clean function. Following these simple steps will keep your Kenmore range operating safely and efficiently.
Warranty Information
Kenmore gas ranges are backed by a manufacturer’s warranty, providing coverage for defects in materials and workmanship. The specific terms and duration of the warranty vary depending on the model and purchase date. Typically, the warranty covers parts and labor for a specified period, often one year for parts and limited labor coverage.
To obtain warranty service, retain your proof of purchase and contact Sears or Kenmore customer support. The warranty does not cover damage resulting from misuse, improper installation, or normal wear and tear. Review your owner’s manual for complete warranty details and registration instructions to ensure full coverage.