
Juki DDL-8700 Manual: A Comprehensive Guide
This comprehensive guide simplifies setup and operation of your Juki DDL 8700-7, offering clear instructions and illustrations for a seamless experience.
Explore creativity and innovation with this manual, alongside vital safety precautions for indoor use, ensuring a productive and secure sewing journey.
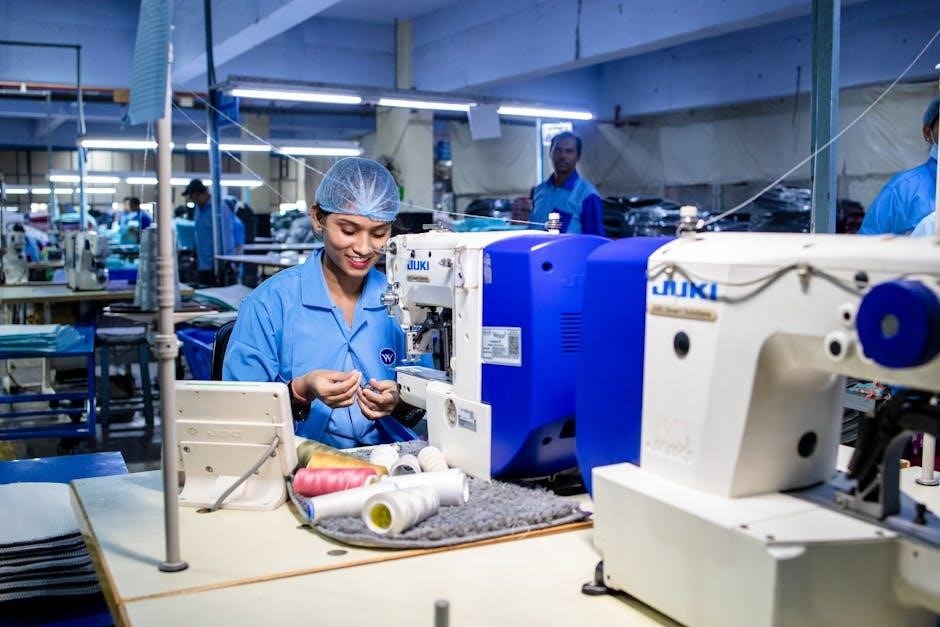
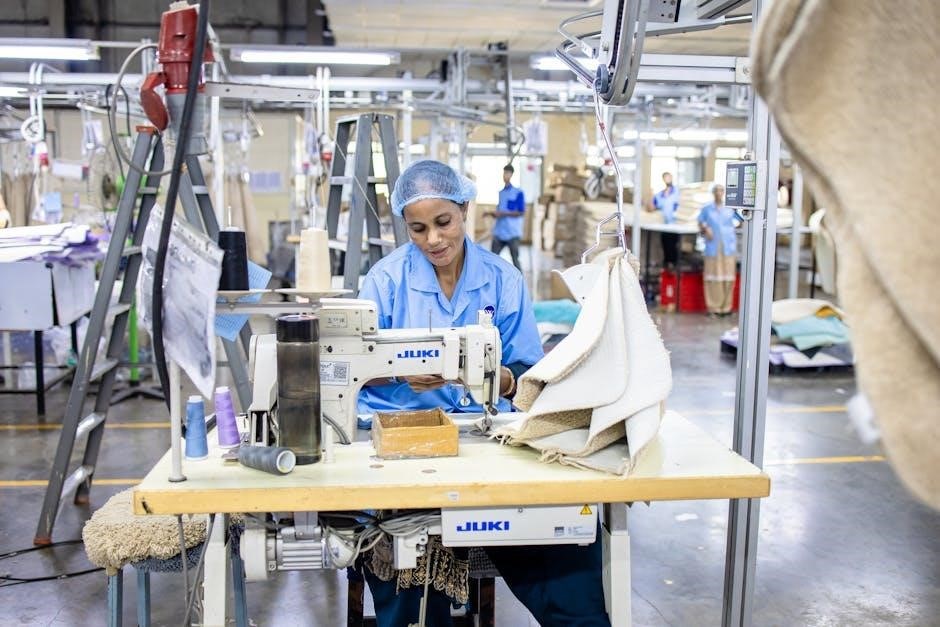
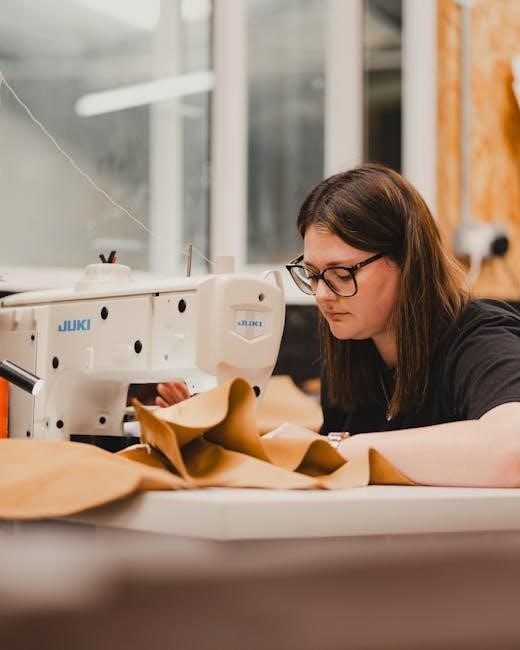
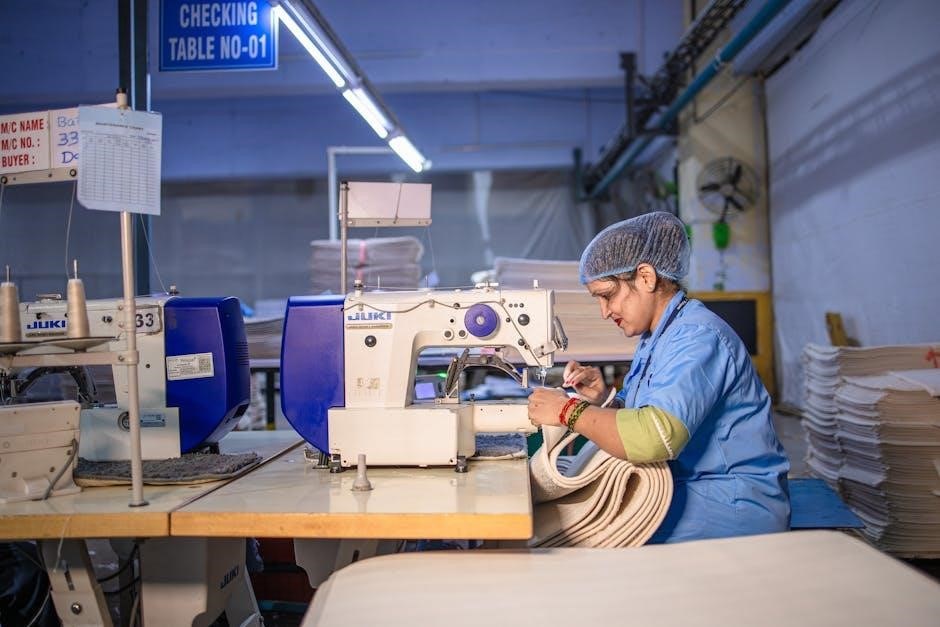
The Juki DDL-8700 represents a significant advancement in industrial sewing technology, designed for precision and efficiency. This direct-drive, single-needle lockstitch machine is a popular choice among professionals and serious hobbyists alike. It’s renowned for its ability to handle a wide variety of fabrics and applications, from light-weight materials to medium-weight denim.
This manual serves as your complete resource for understanding and utilizing the full potential of your Juki DDL-8700. Whether you are a seasoned seamstress or new to industrial sewing, this guide will walk you through every step – from initial setup and threading to advanced techniques and troubleshooting. We aim to simplify the process, ensuring a smooth and enjoyable sewing experience.
Prior to operation, carefully review the safety precautions outlined within this manual. Understanding these guidelines is crucial for preventing accidents and maintaining the longevity of your machine. Get ready to unlock a world of possibilities with your new Juki DDL-8700!
Key Features and Specifications
The Juki DDL-8700 boasts a direct-drive motor, resulting in reduced noise and vibration, alongside increased energy efficiency. Its maximum sewing speed reaches an impressive 5,000 stitches per minute, significantly boosting productivity. The machine features an automatic needle positioning function, ensuring consistent stitch starts and stops;
Key specifications include a needle system DP x 5 (size 90/14 ― 110/18), a maximum stitch length of 5mm, and a presser foot lift of 6mm/13mm. It accommodates a variety of fabric thicknesses and weights. The machine’s robust construction guarantees durability and reliability, even under demanding workloads.
Furthermore, the DDL-8700 incorporates advanced features like an integrated LED sewing light and a convenient thread trimmer. These enhancements contribute to a more comfortable and efficient sewing process. Its compact design allows for flexible placement within your workspace, maximizing operational convenience.
Setting Up Your Juki DDL-8700
Prepare for seamless sewing! This section guides you through the initial setup, from unboxing and inspection to installing essential components for optimal performance.
Unboxing and Initial Inspection
Carefully unpack your Juki DDL-8700, ensuring all components are present. Verify the machine against the included parts list – this is crucial for a smooth setup. Inspect the machine body for any shipping damage, such as dents or scratches.
Check all accessories: power cord, foot controller, needle clamp screw, bobbin, screwdriver, oiler, and any included presser feet. Confirm the serial number on the machine matches the documentation. Retain the original packaging for potential future transport or warranty claims.
Before proceeding, familiarize yourself with the machine’s basic layout. Note the positions of key components like the needle, presser foot, bobbin winder, and tension dials. A thorough initial inspection prevents issues later and ensures your Juki DDL-8700 is ready for operation.
Installing the Needle and Bobbin
Begin by ensuring the machine is powered off. To install the needle, loosen the needle clamp screw with the provided screwdriver. Insert a new needle with the flat side facing the back of the machine, pushing it firmly up until it stops. Tighten the needle clamp screw securely.
Next, install the bobbin. Place the bobbin onto the bobbin winder spindle, ensuring it clicks into place. Guide the thread through the tension disc, following the diagram in your manual. Wind several turns of thread onto the bobbin, then disengage the bobbin winder.
Finally, insert the bobbin into the bobbin case, guiding the thread through the tension spring. Ensure the thread is properly seated before beginning to sew. Correct needle and bobbin installation are vital for optimal stitch quality.
Threading the Machine – Upper Thread
Start with the machine powered off. Raise the presser foot and thread stand. Place the spool of thread onto the spool pin. Guide the thread through the first thread guide, then down through the tension discs – ensure the thread is firmly seated between them.
Continue threading by bringing the thread up through the take-up lever, then down through the second thread guide. Next, thread the needle from front to back. Double-check that the thread is correctly positioned in all guides and the take-up lever;
Proper upper threading is crucial for consistent stitch formation. Refer to the detailed threading diagram in your Juki DDL-8700 manual for visual assistance. Incorrect threading can lead to tension issues and poor stitch quality.
Threading the Machine – Lower Thread
Begin by ensuring the machine is off and the needle is raised. Open the bobbin cover and remove the bobbin case. Insert a pre-wound bobbin into the bobbin case, ensuring it rotates in the correct direction – typically counter-clockwise.
Thread the bobbin thread through the tension spring on the bobbin case; Reinsert the bobbin case into the machine, ensuring it clicks securely into place. Gently pull the bobbin thread upwards; it should emerge through the needle plate;
Correct lower threading is vital for balanced stitch formation. Consult the Juki DDL-8700 manual’s diagram for precise guidance. Improper threading can cause looping, uneven stitches, or thread bunching. Always test the threading before starting a project.
Operating the Juki DDL-8700
Power on and familiarize yourself with basic controls, stitch selection, and adjustments for optimal performance. Mastering these elements unlocks the machine’s full potential.
Powering On and Basic Controls
Initiating operation of your Juki DDL-8700 is straightforward. Locate the main power switch, typically found on the right side of the machine, and toggle it to the ‘ON’ position. You’ll notice the control panel illuminate, indicating the machine is ready.
Essential controls include the power switch, the handwheel for manual needle positioning, and the foot pedal for speed regulation. The foot pedal’s pressure directly correlates to the sewing speed – gentle pressure for slow stitching, and increased pressure for faster operation.

Familiarize yourself with the stitch length and width adjustment dials, as well as the reverse stitch lever. These controls allow for customization of your stitch parameters. The needle up/down button provides precise control over the needle’s final position, enhancing accuracy and efficiency. Always ensure the machine is stable and properly connected before powering on.
Stitch Selection and Adjustment
The Juki DDL-8700 offers a versatile range of stitch options, primarily focused on straight stitching, ideal for diverse fabric applications. Stitch selection is typically managed through a dial or digital interface, allowing you to choose the desired stitch type.
Adjusting stitch parameters is crucial for achieving optimal results. Utilize the stitch length dial to modify the distance between stitches – shorter lengths for delicate fabrics, and longer lengths for heavier materials. The stitch width dial controls the lateral deviation of the needle, influencing the stitch’s appearance and strength.
Experimentation is key to mastering stitch customization. Always test your settings on a scrap piece of fabric before commencing your project. Precise adjustments ensure clean, consistent stitches, enhancing the overall quality and durability of your creations. Refer to the manual for specific stitch recommendations based on fabric type.
Adjusting Stitch Length and Width
Precise control over stitch length and width is fundamental to achieving professional results with the Juki DDL-8700. The stitch length is adjusted using a clearly marked dial, typically ranging from 0.5mm to 5.0mm. Shorter stitch lengths (e.g., 1.5mm ― 2.0mm) are ideal for delicate fabrics and fine seams, providing increased strength and preventing puckering.
Longer stitch lengths (e.g., 3.0mm ― 4.0mm) are better suited for heavier fabrics or when creating basting stitches. The stitch width is generally fixed on the DDL-8700, primarily designed for straight stitching. However, some models may offer limited width adjustment for zigzag or decorative stitches.
Always test your chosen settings on a scrap fabric sample before starting your project. Observe how the stitch interacts with the material and make adjustments as needed. Consistent stitch length and appropriate width contribute significantly to the overall quality and durability of your sewn items.
Tension Adjustment – Upper and Lower Threads
Achieving balanced tension between the upper and lower threads is crucial for forming a strong, even stitch. Incorrect tension leads to issues like looping, puckering, or thread breakage. The Juki DDL-8700 features separate tension dials for both threads – the upper tension dial is typically located on the machine head, while the lower tension is adjusted via a screw on the bobbin case.
Start with the upper tension set to its default position (usually marked with a number like ‘4’ or ‘5’). Test sew on a scrap fabric. If the bobbin thread pulls to the top, increase the upper tension. Conversely, if the upper thread loops on the underside, decrease it.
Adjust the lower tension only after optimizing the upper tension. Small adjustments are key; a slight turn of the screw can make a significant difference. Consistent testing and observation are vital for achieving perfect tension balance.

Maintenance and Troubleshooting
Regular upkeep ensures optimal performance. This section details cleaning, lubrication, and solutions for common issues like thread breakage and skipped stitches.
Regular Cleaning Procedures
Consistent cleaning is vital for maintaining the Juki DDL-8700’s performance and longevity. Begin by powering off and disconnecting the machine from its power source for safety. Use a soft brush to remove lint and debris from the bobbin area, feed dogs, and needle plate after each use.
Periodically, access the internal mechanisms – consult your manual for specific guidance – and carefully brush away accumulated lint. A vacuum cleaner with a brush attachment can be helpful, but use low suction. Avoid using compressed air, as it can push debris further into the machine.
Wipe down the exterior surfaces with a clean, damp cloth. Never use harsh chemicals or solvents, as these can damage the machine’s finish. Regular cleaning prevents build-up that can cause malfunctions and ensures smooth, reliable operation. A clean machine is a happy machine!
Lubrication Guide
Proper lubrication is crucial for the Juki DDL-8700’s smooth operation and preventing wear. Always refer to your machine’s manual for specific lubrication points and recommended oil types – using the wrong oil can cause damage. Generally, key areas requiring lubrication include the hook assembly, needle bar, and presser foot bar.
Apply a small amount of sewing machine oil to these points using an oiler. Avoid over-lubrication, as excess oil attracts dust and lint. After oiling, operate the machine slowly for a few minutes to distribute the oil evenly.
Regular lubrication, typically every few months with moderate use, minimizes friction and ensures optimal performance. Never disassemble the machine for lubrication unless you are a qualified technician. Consistent, careful lubrication extends the life of your Juki DDL-8700 and maintains its precision.
Troubleshooting Common Issues – Thread Breakage
Thread breakage is a frequent issue, often stemming from incorrect threading. Re-thread both the upper and lower threads, ensuring the thread is properly seated in all guides and the tension discs. Check the needle; a bent or damaged needle is a common culprit and should be replaced immediately.
Incorrect tension settings can also cause breakage. Adjust the upper and lower thread tensions, starting with the upper tension. Ensure the thread spool is rotating freely and isn’t catching. The type of thread and fabric also play a role; use appropriate thread weight for the fabric.
Finally, inspect the needle plate for burrs or damage that could be cutting the thread. Consistent breakage requires methodical checking of these elements to restore smooth sewing.
Troubleshooting Common Issues – Skipped Stitches
Skipped stitches often indicate a problem with the needle or its installation. Verify the needle is correctly inserted, with the flat side facing the correct direction – typically towards the back. Ensure you’re using the correct needle type and size for your fabric weight; a dull or damaged needle should be replaced.
Incorrect threading can also lead to skipped stitches. Double-check the upper threading, ensuring the thread is properly seated in the take-up lever and tension discs. Adjust the presser foot pressure; too much pressure can cause issues.
Finally, examine the timing of the machine. If the needle and hook aren’t synchronized, stitches will be skipped. This may require professional servicing.
Troubleshooting Common Issues – Fabric Feeding Problems
Fabric feeding issues on your Juki DDL-8700 can stem from several causes. First, ensure the feed dogs are engaged; a disengaged feed dog lever will prevent fabric movement. Check for lint and debris accumulated around the feed dogs and needle plate – a thorough cleaning is often the solution.
Incorrect presser foot pressure can also contribute. Adjust the pressure to ensure sufficient grip without damaging the fabric. Verify the correct presser foot is installed for the fabric type. A mismatched foot can hinder smooth feeding.
Finally, inspect the tension settings. Improper tension can cause uneven feeding or puckering. If problems persist, consult a qualified technician for timing adjustments.
Advanced Techniques & Resources
Unlock your Juki DDL-8700’s full potential with specialized techniques, optional presser feet, and readily available online support for continued success!
Using Different Types of Fabric
The Juki DDL-8700 excels with a wide range of fabrics, but optimal settings are crucial for achieving professional results. Lightweight fabrics like silk and chiffon require finer needles (size 60/8 or 70/10) and reduced presser foot pressure to prevent puckering. Adjust stitch length to shorter settings for better control.
For medium-weight cottons, polyesters, and blends, a universal needle (size 80/12 or 90/14) works well. Experiment with stitch lengths to find the best balance between durability and appearance. Heavier fabrics, such as denim and canvas, demand robust needles (size 90/14 or 100/16) and increased presser foot pressure.
Always test on a scrap piece of fabric before starting your project. Consider using a walking foot for challenging materials prone to slipping. Proper thread selection is also vital; choose thread weight appropriate for the fabric thickness. Remember to adjust tension accordingly for each fabric type to avoid looping or puckering.
Optional Presser Feet and Their Uses
Expanding the Juki DDL-8700’s versatility is easily achieved with optional presser feet. The blind hem foot creates invisible hems on skirts and trousers, offering a professional finish. A zipper foot allows for precise stitching close to zipper teeth, ensuring neat and even results.
For decorative stitching and free-motion quilting, the open-toe foot provides enhanced visibility. The walking foot, invaluable for quilting and multiple fabric layers, ensures even feeding. A gathering foot simplifies creating ruffles and gathers with consistent spacing.
Specialty feet, like the edge stitching foot, are ideal for precise topstitching. Consider a buttonhole foot for automated buttonhole creation. Regularly check Juki’s website or authorized dealers for the latest compatible presser feet. Proper installation and adjustment are key to maximizing each foot’s functionality.
Accessing Online Support and Manuals
Juki provides extensive online resources to support your DDL-8700 experience. The official Juki website (https://www.juki.com/) hosts a dedicated support section with downloadable manuals in multiple languages. You’ll find detailed guides, parts lists, and frequently asked questions.
YouTube is a valuable resource, featuring numerous tutorials and troubleshooting videos from both Juki and independent sewing experts. Online sewing forums and communities offer peer-to-peer support and advice. The Internet Archive (https://archive;org/) may contain archived manuals and resources.
Juki’s customer service is accessible via phone or email, offering direct assistance with technical issues. Registering your machine online unlocks access to exclusive content and updates. Always verify the authenticity of downloaded manuals and resources to ensure accuracy.
Safety Precautions for Indoor Use
Prioritize safety when operating your Juki DDL-8700 indoors. Ensure the machine is placed on a stable, level surface, away from flammable materials. Keep the power cord clear of obstructions and avoid overloading electrical circuits.

Always disconnect the power before performing any maintenance or changing the needle. Never operate the machine with damaged parts. Keep fingers and other body parts away from moving components, like the needle and presser foot, during operation.
Wear appropriate eye protection to shield against flying debris. Maintain a well-lit workspace to prevent accidents. Supervise children and pets when the machine is in use. Regularly inspect the machine for wear and tear, addressing issues promptly. Follow all warnings in the manual.