
Understanding Canopy Humidifiers
Canopy humidifiers enhance air moisture, combating dry conditions, especially during winter, offering relief from discomforts like dry skin and respiratory issues.
What is a Canopy Humidifier?
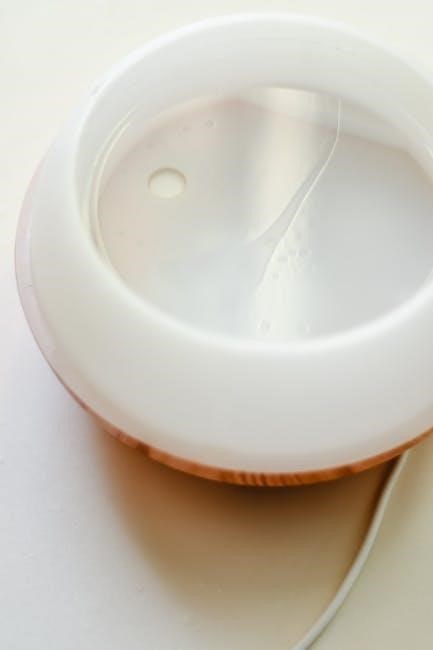
Canopy humidifiers represent a specialized category of humidifying devices designed to deliver moisture directly into the air surrounding a designated space, often mimicking a natural canopy effect. Unlike traditional humidifiers that disperse mist broadly, these units focus on localized humidity, making them ideal for personal comfort or targeted areas.
They are particularly beneficial in drier climates or during winter months when heating systems reduce indoor humidity levels, leading to discomforts like dry skin, irritated sinuses, and scratchy throats. These devices effectively combat these issues by increasing moisture content, promoting healthier and more comfortable breathing.
Essentially, a canopy humidifier aims to create a microclimate of optimal humidity, offering a focused solution for dryness-related problems.
Types of Canopy Humidifiers Available
Canopy humidifiers come in several varieties, each with unique features and benefits. Ultrasonic humidifiers utilize high-frequency vibrations to create a fine mist, operating quietly and efficiently. Evaporative humidifiers employ a fan to blow air through a wet wick or filter, naturally releasing moisture.
Warm mist humidifiers boil water to produce steam, offering a slightly warmer output, while cool mist humidifiers are generally considered safer, especially around children and pets. Some models incorporate advanced features like adjustable mist levels, built-in timers, and automatic shut-off functions.
Choosing the right type depends on individual preferences, room size, and specific needs, considering factors like noise level, energy consumption, and maintenance requirements.

Setting Up Your Canopy Humidifier
Proper setup ensures optimal performance and longevity. Carefully unpack all components, inspect for damage, and prepare the unit for initial cleaning and water filling.
Unboxing and Component Check
Begin by carefully opening the humidifier packaging, avoiding any sharp objects that could potentially damage the unit. Once opened, lay out all included components on a clean, flat surface. Cross-reference the contents with the parts list provided in the user manual – typically, this includes the humidifier base, water tank, and potentially a cleaning brush or descaling powder.
Inspect each component for any visible signs of damage, such as cracks, dents, or loose parts. Pay close attention to the water tank, ensuring it’s free from defects. Verify the presence of all essential accessories. If any parts are missing or damaged, immediately contact the manufacturer or retailer for assistance before proceeding with setup. A thorough component check prevents issues later.
Initial Cleaning and Preparation
Before first use, a thorough cleaning is crucial to remove any manufacturing residue. Disassemble the removable parts – typically the water tank and any internal components – and wash them with mild soap and lukewarm water. Avoid harsh chemicals or abrasive cleaners, as these can damage the humidifier’s materials. Rinse all parts completely, ensuring no soap residue remains.
For the humidifier base, gently wipe down the interior with a damp cloth. Do not submerge the base in water. Allow all components to air dry completely before reassembling. This prevents mold and bacteria growth. Once dry, reassemble the humidifier, ensuring all parts are securely connected. This initial preparation ensures optimal performance and hygiene.
Water Requirements: Distilled vs. Tap
Choosing the right water significantly impacts your humidifier’s lifespan and performance. Distilled water is highly recommended, as it lacks minerals that can cause scale buildup within the humidifier, leading to reduced efficiency and potential damage. Tap water, while convenient, contains minerals that leave behind a white dust residue and can promote bacterial growth.
If using tap water, frequent cleaning is essential to remove mineral deposits. Consider using a humidifier-specific cleaning solution regularly. Hard water areas necessitate more frequent cleaning or switching to distilled water. Always check your humidifier’s manual for specific water recommendations, as some models may have filters designed to handle tap water effectively.
Operating Instructions
Proper operation involves powering on, adjusting humidity settings, and utilizing the timer function for customized moisture control and optimal comfort levels.
Powering On and Basic Controls
Initiating operation is typically straightforward; locate the power button, often indicated by a universal power symbol, and press to activate the humidifier. Many models feature intuitive control panels, incorporating buttons or touch-sensitive interfaces for adjusting settings. A primary control is the power switch, ensuring the unit is safely turned on or off.
Basic controls usually include a mist intensity adjustment, allowing you to select low, medium, or high output levels based on room size and desired humidity. Some units offer a variable control for precise adjustments. Observe the indicator lights; they confirm power status and often display the selected mist level. Familiarize yourself with these controls to efficiently manage your humidifier’s performance and enjoy consistent, comfortable humidity.
Adjusting Humidity Levels
Precise humidity control is crucial for optimal comfort and health. Most canopy humidifiers offer adjustable settings, allowing you to tailor the output to your specific needs. Begin by selecting a lower setting and gradually increase it until you achieve the desired humidity level, typically between 30-50%.
Monitoring humidity can be done with a hygrometer, a device measuring air moisture. Avoid over-humidifying, as excessive moisture can promote mold growth. Utilize the humidifier’s controls – often buttons or a dial – to fine-tune the mist output. Experiment to find the sweet spot that alleviates dryness without creating a damp environment, ensuring a healthy and comfortable indoor climate.
Using the Timer Function
The timer function offers convenient control over your canopy humidifier’s operation, allowing for automated shut-off and energy savings. Most models feature a timer setting, often adjustable in increments of hours. To utilize this feature, press the timer button and select your desired run time – perhaps 2, 4, or 8 hours – depending on your needs and room size.
Scheduled operation is ideal for nighttime use, preventing the humidifier from running continuously while you sleep. This conserves water and electricity. Some advanced models offer programmable timers, enabling you to set specific start and stop times for each day. Always refer to your humidifier’s manual for detailed instructions on timer programming and usage.

Maintenance and Cleaning
Regular maintenance ensures optimal performance and longevity of your canopy humidifier; consistent cleaning prevents mineral buildup and bacterial growth, promoting healthy air.
Daily Maintenance Tasks
Consistent daily upkeep is crucial for maintaining a hygienic and efficiently operating canopy humidifier. Begin each day by visually inspecting the water tank for any signs of discoloration or residue buildup. Empty any remaining water from the tank and wipe it clean with a soft, dry cloth. This prevents the growth of bacteria and mold.
Also, quickly check the mist outlet for any obstructions. A simple wipe-down can ensure a consistent and even mist distribution. If your model has a removable filter (some do not), briefly inspect it for visible dust accumulation. While a full filter cleaning isn’t needed daily, awareness is key. Finally, ensure the humidifier is placed on a level surface to prevent spills and maintain stable operation. These small steps contribute significantly to long-term performance.
Deep Cleaning Schedule
A thorough deep cleaning of your canopy humidifier should be performed at least once every two weeks, or more frequently with hard water usage. Begin by disconnecting the unit and emptying the water tank. Utilize a mild cleaning solution – diluted white vinegar is excellent – to scrub the tank, removing mineral deposits and biofilm. Rinse thoroughly with clean water, ensuring no cleaning solution remains.
Next, address the humidifier base, paying attention to the mist outlet and any internal components accessible for cleaning. Use a soft brush to dislodge any buildup. If your model has a filter, now is the time for a more intensive cleaning, following the manufacturer’s instructions. Finally, dry all components completely before reassembling and refilling. This prevents mold and ensures optimal performance.
Filter Replacement (If Applicable)
If your canopy humidifier utilizes a filter – some models do, others employ different purification methods – regular replacement is crucial for maintaining air quality and humidifier efficiency. Check your humidifier’s manual for the manufacturer’s recommended replacement schedule; typically, this is every 1-3 months, depending on usage and water quality.
Before replacing, ensure the unit is unplugged. Carefully remove the old filter, noting its orientation for correct installation of the new one. Rinse the filter housing to remove any debris. Insert the new filter, ensuring a snug fit. Using a genuine replacement filter is highly recommended to guarantee compatibility and optimal performance. Discard the used filter responsibly.

Troubleshooting Common Issues
Addressing problems like lack of mist, unusual noises, or leaks ensures optimal performance and longevity of your canopy humidifier, maintaining healthy air quality.
Humidifier Not Producing Mist
If your canopy humidifier isn’t emitting mist, several factors could be at play. First, verify the water level – it must be sufficient for operation, as many models have low-water shut-off features. Next, inspect the transducer (the component that creates the mist); mineral buildup can hinder its function.
Regular cleaning, using a diluted vinegar solution, can dissolve these deposits. Ensure the transducer is properly seated and undamaged. Also, check the fan; if it’s not running, mist won’t disperse. Finally, confirm the humidity setting isn’t at its lowest point and that the unit is correctly powered on. A thorough check of these elements will usually resolve the issue.
Strange Noises During Operation
Unusual sounds from your canopy humidifier often indicate a simple fix. Gurgling noises typically suggest air trapped within the unit; gently tilting the humidifier can release it. Rattling sounds might stem from loose components – carefully inspect and tighten any visible screws or panels.
Whining or squealing could indicate a failing fan motor, potentially requiring professional repair or replacement. Ensure the humidifier is placed on a level surface to minimize vibrations. If the noise persists, discontinue use and consult the manufacturer’s guidelines or a qualified technician to diagnose and address the underlying cause safely.
Water Leaks and How to Address Them
Discovering water leaks from your canopy humidifier requires immediate attention to prevent damage. First, disconnect the unit from the power source. Inspect the water tank for cracks or improper sealing; ensure it’s correctly positioned and securely attached. Check the base and all connecting hoses for any visible leaks or loose connections.
If leaks persist, examine the internal components, looking for blockages or damage to the water distribution system. Avoid overfilling the tank, and regularly clean the humidifier to prevent mineral buildup, which can contribute to leaks. If you cannot resolve the issue, contact customer support or a qualified technician.

Safety Precautions
Always prioritize electrical safety; use grounded outlets and avoid water exposure to electrical components. Proper ventilation and placement are crucial for optimal function.
Electrical Safety Guidelines
Prioritize safety when dealing with electrical components. Always ensure the humidifier is plugged into a properly grounded outlet, preventing potential shocks. Never operate the humidifier with a damaged cord or plug; replace them immediately. Avoid using extension cords, as they can overheat and pose a fire hazard.
Keep the humidifier away from water sources, such as sinks or bathtubs, to prevent accidental contact. Do not attempt to disassemble or repair the humidifier yourself; contact a qualified technician for assistance. Unplug the humidifier before cleaning or filling it with water. Regularly inspect the power cord for any signs of wear or damage. Following these guidelines will help ensure safe and reliable operation of your canopy humidifier.
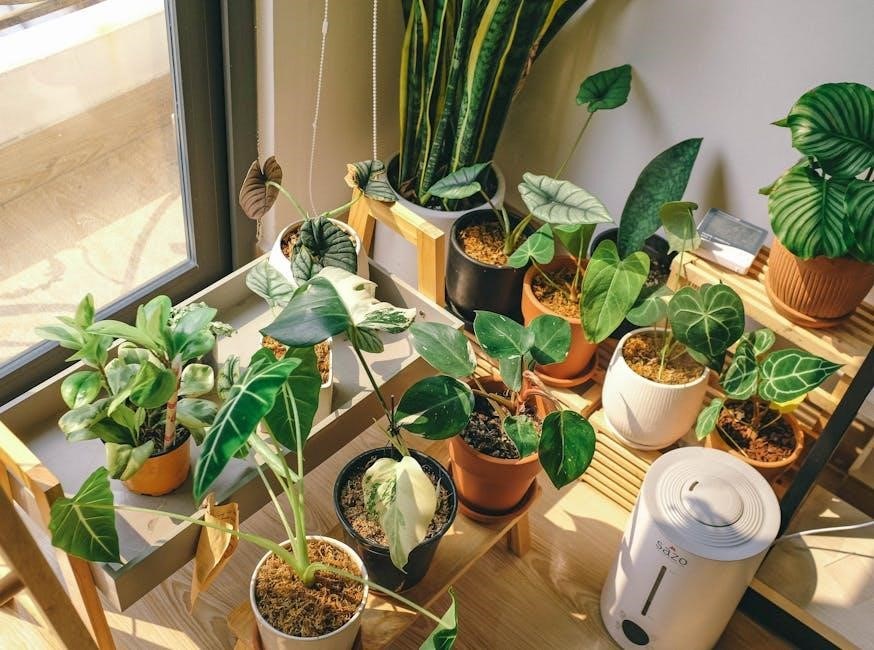
Proper Placement and Ventilation
Strategic placement is crucial for optimal humidifier performance. Position the humidifier on a flat, stable surface, away from direct sunlight or heat sources. Ensure adequate ventilation around the unit, allowing for proper airflow and preventing moisture buildup. Avoid placing it near furniture or walls that could be damaged by humidity.
Maintain a safe distance from bedding and other flammable materials. Consider the room size when choosing a location; a larger room may require a more central position. Regularly check the surrounding area for condensation, adjusting placement if necessary. Proper ventilation prevents mold growth and ensures efficient humidity distribution throughout the space.