
Dristeem Humidifier Manual: A Comprehensive Guide
This manual provides detailed instructions for Dristeem humidifier operation, maintenance, and troubleshooting, ensuring optimal performance and longevity of your unit.
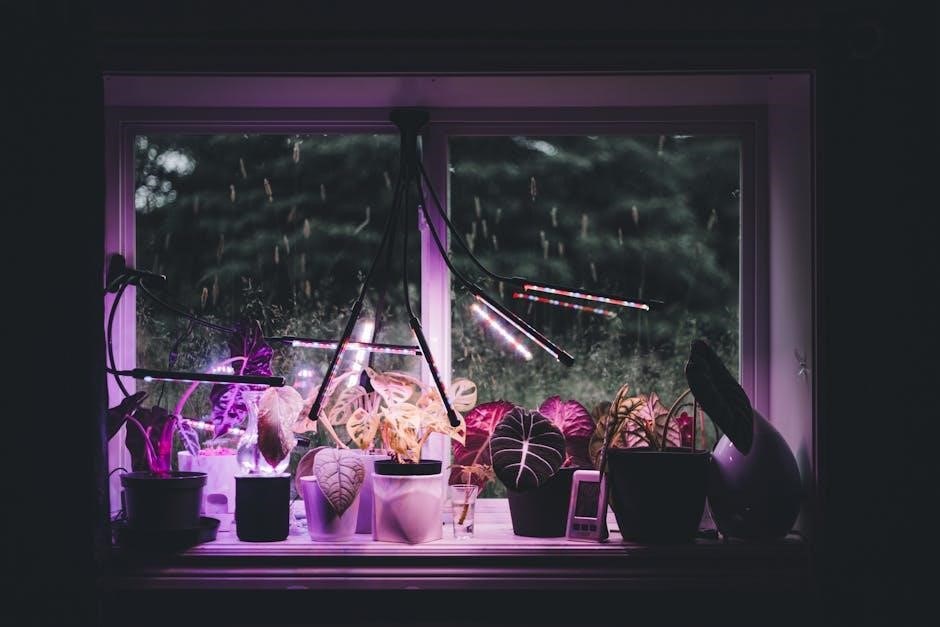
Dristeem humidifiers are renowned for their advanced technology and reliable performance in maintaining optimal humidity levels within various environments. These systems are designed for both residential and commercial applications, offering precise control and efficient operation. Understanding the core principles of your Dristeem humidifier is crucial for maximizing its benefits and ensuring long-term functionality.
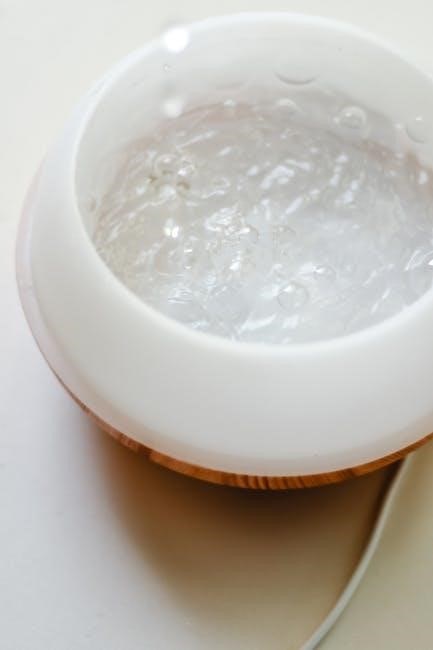
Dristeem utilizes innovative steam dispersion technology, delivering hygienic and consistent humidity. Unlike traditional evaporative humidifiers, Dristeem systems boil water, eliminating the risk of mineral dust and bacterial growth. This manual serves as a comprehensive resource, guiding you through installation, operation, maintenance, and troubleshooting procedures. Proper adherence to these guidelines will guarantee a comfortable and healthy indoor climate, while protecting your investment in a quality Dristeem humidifier.
Understanding Dristeem Humidifier Models
Dristeem offers a diverse range of humidifier models, each tailored to specific needs and application sizes. From compact residential units to large-scale commercial systems, understanding the distinctions between models is essential for selecting the appropriate solution. Key differentiators include steam output capacity, control features, and installation requirements.
Common models include the VCS, VHT, and VBW series, each offering varying levels of functionality and automation. The VCS line is popular for its versatility, while VHT models prioritize high-temperature steam for enhanced hygiene. The VBW series often features built-in water softening capabilities. This manual provides general guidance applicable to most Dristeem models, but always refer to the specific documentation included with your unit for detailed instructions and model-specific features. Identifying your model number is the first step towards effective operation and maintenance.
Safety Precautions and Warnings
Prioritizing safety is paramount when operating a Dristeem humidifier. Always disconnect the unit from the power source before performing any maintenance or cleaning procedures. Hot steam can cause severe burns; exercise extreme caution when near the steam outlet or any heated components. Ensure the humidifier is installed in a well-ventilated area, away from flammable materials.
Never operate the humidifier with an empty water reservoir. Regularly inspect the water supply lines for leaks or damage. Do not attempt to modify or repair the unit yourself; contact a qualified technician for assistance; This appliance is not intended for use by individuals with reduced physical, sensory, or mental capabilities without proper supervision. Keep children and pets away from the humidifier during operation to prevent accidental burns or injuries.
Installation and Setup
Proper installation is crucial for optimal performance. This section details connecting the water supply and electrical components safely and efficiently.
Initial Setup Procedures
Before first use, carefully unpack your Dristeem humidifier and inspect for any shipping damage. Remove all packaging materials, including protective films and ties. Place the humidifier on a level, stable surface, ensuring adequate space around the unit for proper ventilation – at least 12 inches on all sides is recommended.
Familiarize yourself with all components, referencing the parts diagram in this manual. Confirm you have all necessary accessories. Before connecting to a water source, flush the water reservoir with clean water to remove any potential debris from the manufacturing process. This initial flush helps maintain water quality and prevents premature scaling. Finally, ensure the humidifier is unplugged during the setup process for safety.
Water Supply Connection
Dristeem humidifiers require a direct water line connection for optimal performance. Use a ½-inch NPT threaded connection to your cold water supply, ensuring the water pressure is between 20 and 80 PSI. A pressure regulator is recommended if your water pressure exceeds this range.
Before connecting, thoroughly flush the water line to remove any sediment or impurities. Use Teflon tape on all threaded connections to prevent leaks. Carefully tighten the connection, avoiding over-tightening which could damage the fittings. Inspect the connection for leaks immediately after turning on the water supply. If leaks are present, tighten the connection further or re-apply Teflon tape.
Electrical Connection Requirements
Dristeem humidifiers operate on standard 120V AC power. A dedicated 15-amp circuit is recommended to prevent overloading and ensure stable operation. The unit should be plugged directly into a grounded electrical outlet; avoid using extension cords or power strips.
Ensure the electrical outlet is easily accessible for disconnecting the humidifier during maintenance or emergencies. Before making any electrical connections, verify the voltage matches the humidifier’s specifications. Improper voltage can cause damage to the unit. Always disconnect power before performing any maintenance or cleaning. A qualified electrician should handle any complex electrical work or modifications.
Operation and Control
This section details powering the unit on/off, adjusting humidity, fan speeds, and utilizing automatic versus manual control modes for optimal comfort.
Powering On and Off
To initiate operation, locate the power button, typically situated on the control panel. A single press will activate the Dristeem humidifier, initiating the humidification process. The digital display will illuminate, confirming power status.
To safely deactivate the unit, press the power button again. The humidifier will cease operation, and the display will darken. Ensure the unit is completely powered off before performing any maintenance or cleaning procedures.
Some models feature an automatic shut-off function triggered by low water levels or reaching the desired humidity setting. Always verify the unit is off before leaving it unattended for extended periods.
In case of unresponsive power button, check the electrical connection and ensure the outlet is functioning correctly. Refer to the troubleshooting section for further assistance.
Adjusting Humidity Levels
Dristeem humidifiers offer precise humidity control via the control panel. Utilize the “Up” and “Down” arrow buttons to select your desired humidity percentage, typically ranging from 30% to 70%. The current humidity level is displayed on the digital screen.
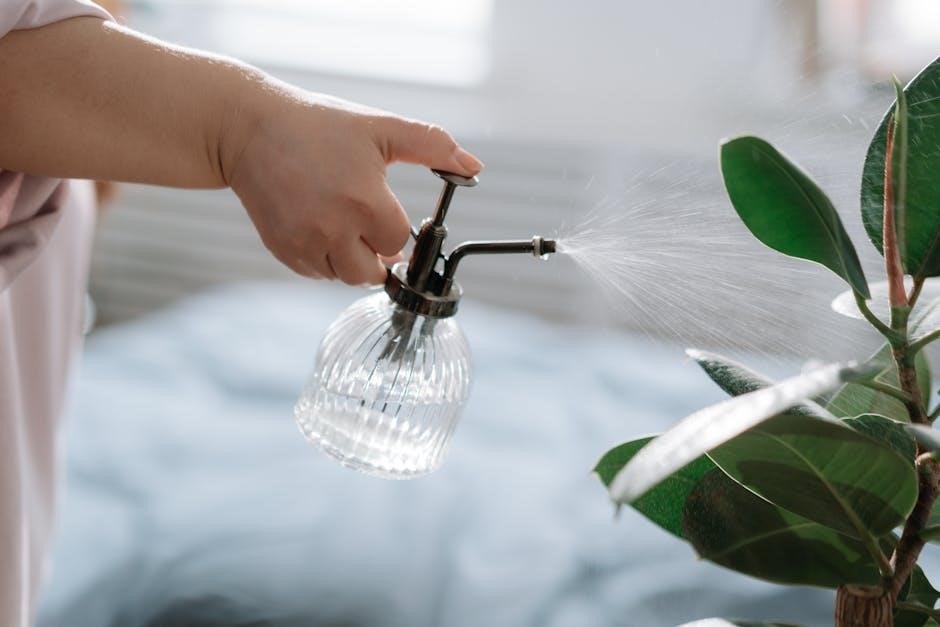
For optimal comfort and health, a humidity level between 40% and 60% is generally recommended. Monitor the room’s humidity using a separate hygrometer for accurate readings.
Certain models feature a “Comfort” or “Auto” mode, automatically adjusting humidity based on room temperature. Experiment with different settings to find your preferred level.
Avoid setting humidity too high, as this can promote mold growth. Regularly check for condensation on windows or walls, indicating excessive humidity.
Fan Speed Settings
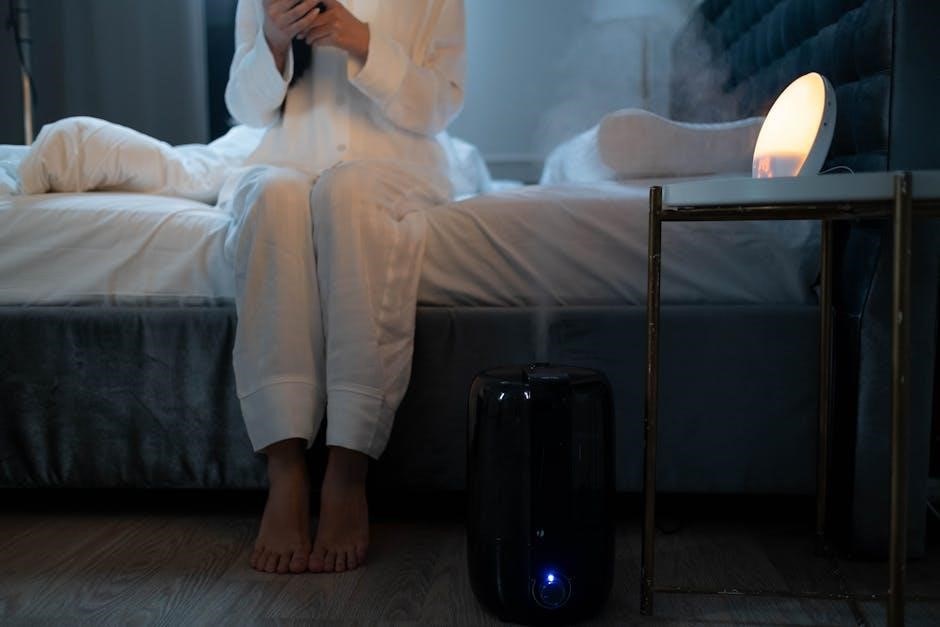
Dristeem humidifiers typically offer multiple fan speed settings – Low, Medium, and High – controlled through the unit’s interface. Lower fan speeds provide quieter operation and are suitable for smaller spaces or nighttime use. Higher fan speeds distribute moisture more rapidly, ideal for larger rooms or quickly increasing humidity.
The “Auto” fan speed setting adjusts automatically based on the desired humidity level and room conditions. Experiment with each setting to determine the optimal balance between noise level and humidification efficiency.
Higher fan speeds may consume more energy. Consider using lower settings when possible to conserve energy and reduce operating costs.
Ensure the fan is unobstructed and free from debris for optimal performance.
Automatic and Manual Modes
Dristeem humidifiers offer both Automatic and Manual operating modes for flexible control. In Automatic mode, the humidifier maintains a pre-set humidity level, adjusting fan speed and output as needed. Simply select your desired humidity percentage, and the unit handles the rest, monitoring room conditions and making adjustments.
Manual mode allows for direct control over fan speed and output settings. This is useful for customized humidification or when precise control is preferred.
Switching between modes is typically done via buttons on the control panel or through the remote control.
Automatic mode is generally recommended for ease of use and consistent humidity.
Maintenance and Cleaning
Regular cleaning and maintenance are crucial for optimal performance, preventing mineral buildup, and ensuring clean, healthy humidification within your Dristeem unit.
Filter Replacement Schedule
Maintaining optimal air quality relies heavily on a consistent filter replacement schedule for your Dristeem humidifier. The frequency depends on usage and environmental factors, but a general guideline is to replace the pre-filter every 1-3 months.
This pre-filter captures larger particles like dust and pollen, extending the life of the main filter. The main filter, responsible for removing smaller contaminants, should be replaced every 6-12 months.
For homes with pets, smokers, or high dust levels, more frequent replacements are recommended. Regularly inspect filters for discoloration or buildup; this is a visual indicator that replacement is needed. Using genuine Dristeem replacement filters ensures compatibility and continued performance. Ignoring filter replacement can reduce efficiency and potentially impact air quality.
Cleaning the Water Reservoir
Regular cleaning of your Dristeem humidifier’s water reservoir is crucial to prevent the growth of bacteria and mold, ensuring healthy and hygienic operation. It’s recommended to clean the reservoir at least once a week, or more frequently with heavy use.
First, disconnect the humidifier from the power source. Empty any remaining water and remove the reservoir. Use a mild detergent and warm water to gently scrub the interior surfaces, paying attention to corners and crevices.
Rinse thoroughly with clean water until all traces of detergent are gone. A solution of diluted white vinegar can also be used for disinfection. Allow the reservoir to air dry completely before reassembling and using the humidifier.
Descaling Procedures
Over time, mineral buildup (scale) can accumulate inside your Dristeem humidifier, reducing its efficiency and lifespan. Descaling removes these deposits, restoring optimal performance. The frequency of descaling depends on water hardness; typically every 1-3 months is recommended.
Begin by disconnecting the humidifier and emptying the water reservoir. Prepare a descaling solution using equal parts white vinegar and water. Fill the reservoir with this solution and let it sit for 30-60 minutes, allowing the vinegar to dissolve the mineral deposits.
After soaking, drain the solution and rinse the reservoir thoroughly with clean water until the vinegar smell is gone. Repeat if necessary.
Exterior Cleaning Instructions
Maintaining a clean exterior not only enhances the appearance of your Dristeem humidifier but also prevents dust and debris from entering the unit. Always disconnect the humidifier from the power source before cleaning;
Use a soft, damp cloth to wipe down the exterior surfaces. Avoid abrasive cleaners or scouring pads, as these can damage the finish. For stubborn stains, a mild soap solution can be used, but ensure it is thoroughly rinsed off with a clean, damp cloth afterwards.
Pay particular attention to the control panel and vents, ensuring they are free from dust. Do not immerse the humidifier in water or allow water to enter the internal components.
Troubleshooting Common Issues
This section details solutions for typical problems like no power, insufficient humidity, strange noises, and leaks, ensuring smooth operation of your Dristeem humidifier.
Humidifier Not Turning On
If your Dristeem humidifier fails to power on, begin by verifying the electrical connection. Ensure the power cord is securely plugged into a functioning outlet and that the outlet itself is receiving power – test with another device.
Next, check the unit’s internal fuse or circuit breaker (refer to your specific model’s diagram). A tripped breaker or blown fuse will prevent operation. Also, confirm the humidifier’s power switch is in the ‘On’ position.
Some models feature a safety shut-off that activates if the water reservoir is empty or improperly installed. Verify adequate water levels and correct reservoir placement. If the issue persists, consult the detailed troubleshooting section of your Dristeem manual or contact customer support for assistance.
Low Humidity Output
Experiencing insufficient humidity from your Dristeem humidifier? First, ensure the fan speed is appropriately set – a lower setting results in reduced output. Verify the water reservoir is adequately filled; low water levels directly impact performance.
Inspect the humidifier’s filter; a clogged filter restricts airflow and diminishes humidification capacity. Replace the filter according to the recommended schedule outlined in your manual. Also, check for any obstructions blocking the mist outlet or airflow pathways.
Confirm the humidity setting on the control panel is set to your desired level. Finally, consider the room size; the humidifier may be undersized for the space.
Unusual Noises During Operation
If your Dristeem humidifier is producing strange sounds, begin by checking for proper assembly – ensure all components are securely connected. A rattling noise often indicates a loose part; carefully tighten any screws or panels. Humming sounds could stem from the fan motor; verify it’s free from obstructions like dust or debris.
Gurgling noises may suggest air trapped within the water system; gently tilt the unit to release any trapped air. Inspect the water reservoir for mineral buildup, which can cause vibrations and noise.
If the noise persists, consult the troubleshooting section of your manual or contact customer support for assistance.
Water Leaks and Drainage Problems
Discovering water leaks with your Dristeem humidifier requires immediate attention. First, inspect all water connections – hoses, reservoir, and drain lines – for tightness and cracks. Ensure the water reservoir is correctly seated and not overfilled. Check the drain line for kinks or blockages that could cause overflow.
If leaks persist, examine the humidifier’s internal components for damage, such as a cracked reservoir or faulty valve. Mineral buildup can also contribute to leaks; regular descaling is crucial.
For significant leaks, immediately power off the unit and contact customer support for professional assistance.
Advanced Features and Settings
Explore sophisticated controls like digital displays, remote operation, programmable timers, and energy-saving modes for customized humidity management with your Dristeem humidifier.
Digital Display Functions
The Dristeem humidifier’s digital display offers a comprehensive overview of your unit’s operational status. It prominently showcases the current humidity level, allowing for precise monitoring of your indoor environment. Users can easily view the setpoint humidity, indicating the desired level of moisture.
Furthermore, the display indicates the fan speed setting – low, medium, or high – providing immediate feedback on airflow intensity. Error codes are displayed to quickly diagnose potential issues, simplifying troubleshooting. Many models also feature a timer display, showing remaining run time or scheduled start/stop times.
Some advanced units include a filter life indicator, alerting you when filter replacement is necessary. The display’s brightness is often adjustable for optimal visibility in various lighting conditions, enhancing user convenience.
Remote Control Operation
The Dristeem humidifier remote control provides convenient, long-distance operation of your unit. It mirrors most of the functions available on the main control panel, allowing you to adjust humidity levels, fan speeds, and operational modes from across the room.
Power on/off functionality is readily accessible, eliminating the need to physically interact with the humidifier. Programmable timer settings can be activated or modified remotely, ensuring customized operation schedules.
The remote typically features clear, intuitive buttons for ease of use. Ensure the remote is pointed directly at the humidifier’s receiver for optimal communication. Battery replacement is essential for continued functionality; check the battery compartment regularly.
Programmable Timers
Dristeem humidifiers often feature programmable timers, allowing for automated operation based on your schedule and preferences. These timers enable you to set specific start and stop times for the humidifier, optimizing energy consumption and maintaining desired humidity levels only when needed.
You can typically program multiple timers throughout the day, catering to varying humidity requirements. Access the timer settings through the control panel or, if equipped, via the remote control.
Ensure the correct time is set on the humidifier before programming the timers. Review the programmed schedule regularly to confirm it aligns with your current needs. Utilizing timers contributes to both comfort and energy efficiency.
Energy Saving Modes
Many Dristeem humidifier models incorporate energy-saving modes designed to reduce power consumption without significantly compromising performance. These modes often automatically adjust fan speed or output levels based on the current humidity and room temperature.

Look for features like “Eco Mode” or “Sleep Mode” within the control panel settings. Eco Mode typically lowers fan speed and output when humidity reaches a comfortable level, while Sleep Mode minimizes noise and power usage during nighttime hours.
Activating these modes can lead to noticeable savings on your energy bill. Consult your specific model’s manual for detailed instructions on enabling and customizing these energy-efficient features.

Warranty Information and Support
Dristeem offers a limited warranty on its humidifiers; details are in the manual. Contact customer support for assistance or replacement parts.
Dristeem Warranty Details
Dristeem humidifiers are protected by a limited warranty, covering defects in materials and workmanship from the date of original purchase. The standard warranty period is typically one year for parts and labor. However, certain components, like filters or UV lamps, may have a shorter warranty duration, as outlined in the accompanying documentation.
This warranty does not cover damage resulting from improper installation, misuse, neglect, unauthorized repairs, or acts of nature. To make a warranty claim, retain your proof of purchase and contact Dristeem customer support. The warranty is void if the unit is altered or if non-genuine Dristeem parts are used. Extended warranty options may be available for purchase at the time of initial product acquisition.
Contacting Customer Support
For assistance with your Dristeem humidifier, several support channels are available. You can reach the Dristeem customer support team via phone during business hours, typically Monday through Friday. A comprehensive FAQ section and troubleshooting guides are accessible on the official Dristeem website, offering solutions to common issues.
Email support is also provided, with a guaranteed response time within 24-48 hours. When contacting support, please have your humidifier model number and date of purchase readily available. Live chat functionality may be offered on the website for immediate assistance. Dristeem also maintains a network of authorized service centers for more complex repairs or warranty claims.
Finding Replacement Parts
Genuine Dristeem replacement parts are crucial for maintaining your humidifier’s performance and warranty validity. Parts can be purchased directly through the official Dristeem website, ensuring authenticity and compatibility. A detailed parts catalog, searchable by model number, is available online.
Authorized Dristeem distributors and service centers also stock common replacement parts like filters, wicks, and seals. Avoid using generic or non-approved parts, as they may damage the unit or void the warranty. When ordering, verify the part number matches your specific humidifier model. Online retailers may offer Dristeem parts, but confirm their authorized distributor status before purchasing.