Cuisinart Convection Bread Maker: A Comprehensive Manual Guide
This guide simplifies home baking! From kneading to baking, this Cuisinart machine eliminates guesswork, offering 16 preprogrammed options for perfect results every time․
Understanding Your Cuisinart Convection Bread Maker
Welcome to effortless baking! Your Cuisinart Convection Bread Maker is designed to bring the delightful aroma and taste of freshly baked bread directly into your kitchen․ This appliance expertly handles the entire bread-making process – from initial kneading of ingredients to the final baking stage – removing the complexities often associated with traditional baking methods․
Featuring convection baking technology, it ensures even heat distribution for consistently golden-brown loaves․ The added automatic mix-in dispenser allows for convenient addition of fruits, nuts, or seeds at the optimal moment․ Whether you desire a simple white loaf, a complex sourdough, or a gluten-free creation, this machine offers versatility and precision․ Explore the numerous preset programs to unlock a world of baking possibilities!
Key Features and Benefits
Experience baking redefined! The Cuisinart Convection Bread Maker boasts a remarkable array of features designed for convenience and superior results․ Enjoy 16 preprogrammed menu options, catering to diverse bread types, doughs, sweet treats, and even homemade jams․ Customize your loaf with 3 crust color settings and choose from 3 loaf sizes to suit your needs․
The automatic mix-in dispenser simplifies adding ingredients, while convection baking guarantees even heating․ Dedicated Low Carb and Gluten-Free presets expand your baking repertoire․ This machine truly takes the guesswork out of baking, delivering perfect loaves consistently․ It’s a bakery in your kitchen!
Model Variations: CBK-200 & CBK-110
Cuisinart offers variations to suit different kitchen spaces and needs․ The CBK-200 is the premium stainless steel convection model, providing a sleek aesthetic and advanced features․ It’s designed for those who desire maximum versatility and baking options․ Conversely, the CBK-110 is a more compact automatic bread maker, ideal for smaller kitchens or individuals seeking a streamlined experience․

Both models share core functionalities, including preprogrammed settings and loaf size/crust control․ However, the CBK-110 offers a focused set of features in a smaller footprint, while the CBK-200 expands upon those capabilities․

Getting Started: Initial Setup & Safety
Prioritize safety and cleanliness! Before the first use, thoroughly clean all parts, and always record the model and serial numbers for future reference․
Before First Use: Cleaning and Preparation
Essential first steps ensure optimal performance and longevity of your Cuisinart Convection Bread Maker․ Before initiating your baking journey, carefully unpack all components and remove any protective packaging materials․ Wash the baking pan, kneading blade, and any included accessories with warm, soapy water․ Rinse thoroughly and dry completely․
Wipe down the exterior of the bread maker with a damp cloth․ Do not immerse the main unit in water or any other liquid․ Ensure all parts are completely dry before reassembling․ A preliminary ‘empty’ bake cycle, as described in the full instruction booklet, can further eliminate any potential manufacturing odors․ This initial run, without any ingredients, prepares the machine for delicious baking ahead!
Safety Precautions & Important Warnings
Prioritize safety during operation of your Cuisinart Bread Maker․ Always ensure the appliance is properly grounded and connected to a suitable power outlet․ Never use outdoors․ Avoid operating the bread maker with a damaged cord or plug, and refrain from immersing the unit in water․
Keep the appliance out of reach of children․ Hot surfaces, including the baking pan and exterior housing, require caution – use oven mitts when handling․ Do not touch moving parts during operation․ Refer to the instruction manual for detailed safety guidelines and to record the model and serial numbers for future reference․ Failure to heed these warnings may cause injuries․
Using the Control Panel & Menu Options
Navigate effortlessly with the intuitive display! Select from 16 preprogrammed menus, customize crust colors, and choose from 3 loaf sizes for perfect baking․
Understanding the Display Panel
The Cuisinart convection bread maker’s display panel is designed for user-friendly operation․ It clearly showcases the selected program, stage of the bread-making process (kneading, rising, baking, etc․), loaf size, crust color, and remaining time․ The panel utilizes a digital readout for precise timing and setting adjustments․
Buttons surrounding the display allow you to cycle through the 16 preprogrammed options, adjust loaf size (ranging from 1 to 3 pounds), and select your desired crust shade – light, medium, or dark․ A start/stop button initiates and pauses the bread-making cycle․ Additionally, a pause/cancel button provides control over the process, allowing for ingredient additions or cycle termination․ The display also features indicators for functions like the automatic mix-in dispenser and convection baking․
Navigating the 16 Preprogrammed Menu Options
The Cuisinart bread maker boasts 16 versatile preprogrammed menu options, catering to diverse baking needs․ These include settings for Basic, Artisan, Whole Wheat, French, and Gluten-Free breads․ Dedicated programs exist for Dough, Pizza Dough, and Sweet breads, simplifying complex recipes․
Further options encompass Rapid Bake, Slow Bake, Sourdough, and Cake cycles, offering flexibility in baking times and textures․ Low Carb and Jam settings expand culinary possibilities․ Each program is optimized for specific ingredient combinations and desired outcomes․ The manual provides detailed guidance on selecting the appropriate program for your recipe, ensuring consistent and delicious results․ Experimenting with these presets unlocks a world of baking creativity!
Crust Color & Loaf Size Selection
Customize your loaf with Cuisinart’s adjustable settings! The bread maker offers three crust color options – Light, Medium, and Dark – allowing you to achieve your preferred level of browning and crispness․ This feature ensures each loaf matches your taste․
Furthermore, select from three loaf sizes to accommodate varying family needs or recipe requirements․ Choose between 1 lb, 1․5 lb, and 2 lb loaves․ These selections impact baking time and ingredient proportions․ The control panel’s intuitive design makes adjusting these settings straightforward, guaranteeing a perfectly sized and colored loaf every time․ Experiment to find your ideal combination!

Bread Making Basics: Ingredients & Recipes
Essential ingredients unlock delicious bread! Explore preset menus for white loaves, artisan doughs, sourdough starters, and gluten-free options with ease․
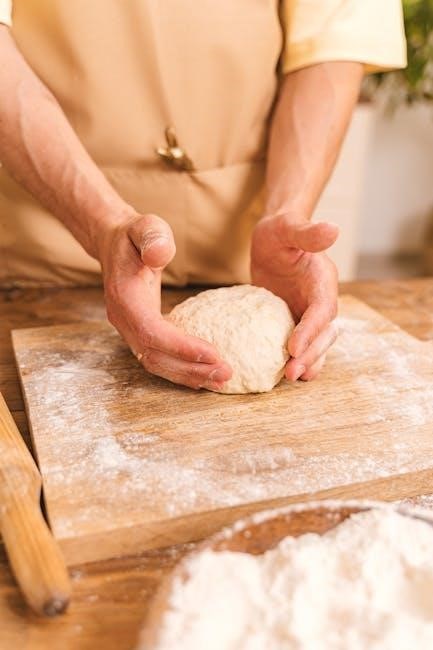
Essential Ingredients for Bread Making
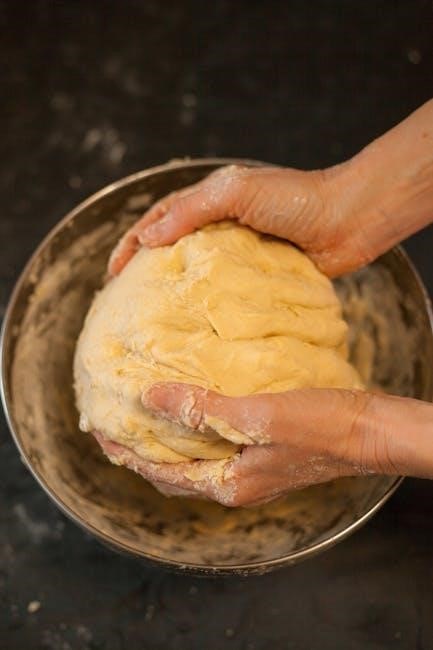
Flour is the foundation, providing structure; bread flour’s higher protein content yields chewier results, while all-purpose works well for softer loaves․ Yeast, the leavening agent, transforms sugars into gas, causing the dough to rise – active dry yeast requires proofing, while instant yeast can be added directly․
Liquids, like water or milk, hydrate the flour and activate the yeast; milk adds richness and softness․ Sugar feeds the yeast and contributes to flavor and browning․ Fat, such as butter or oil, tenderizes the crumb and enhances flavor․ Salt controls yeast activity and balances the sweetness, crucial for flavor development․ Finally, consider mix-ins like seeds or nuts for added texture and taste!
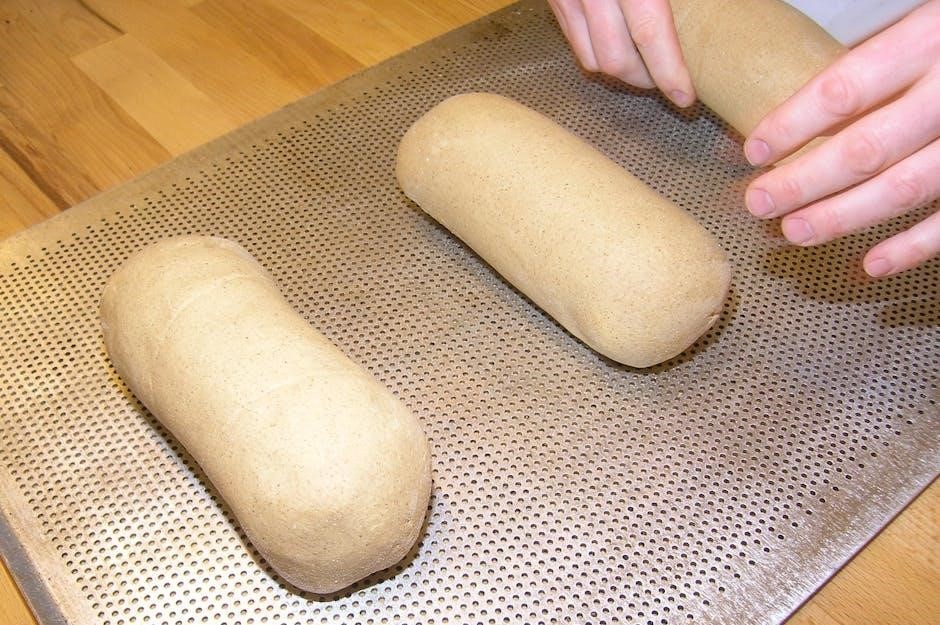
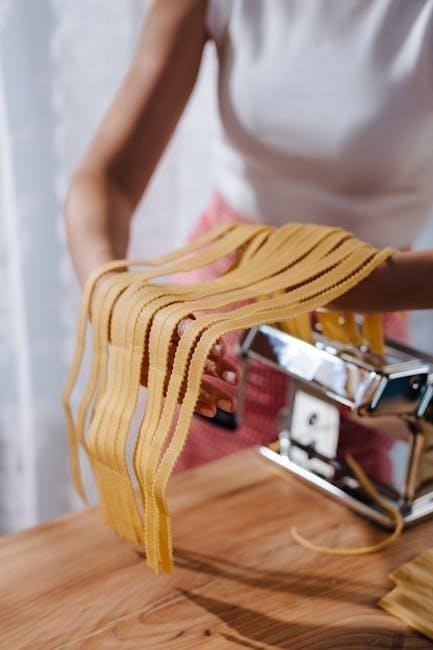
Basic White Bread Recipe
Yields: 1․5 lb loaf․ Ingredients: 1 ¼ cups warm water, 3 ¼ cups bread flour, 2 tablespoons sugar, 1 ½ teaspoons salt, 2 ¼ teaspoons active dry yeast․
Instructions: Add ingredients to the bread maker pan in the order recommended by your Cuisinart model (typically liquid first, then dry)․ Select the ‘Basic’ or ‘White Bread’ setting, a 1․5 lb loaf size, and a medium crust color․ Press start! The machine will knead, rise, and bake automatically․
Once finished, carefully remove the loaf and let it cool completely on a wire rack before slicing and enjoying your freshly baked bread!
Gluten-Free Bread Making with Your Cuisinart
Success with gluten-free baking requires a specific approach! Utilize the dedicated ‘Gluten-Free’ preset on your Cuisinart bread maker․ This setting adjusts kneading and rising times for optimal results with gluten-free flour blends․
Recommended Ingredients: A pre-mixed gluten-free bread flour blend (containing xanthan gum is crucial!), warm water, sugar, salt, oil, and yeast (ensure it’s gluten-free certified)․ Follow the blend’s instructions for quantities․
Add ingredients to the pan in the order specified in your manual․ Select the gluten-free setting, appropriate loaf size, and crust color․ Enjoy a delicious, gluten-free loaf!

Advanced Features & Techniques
Explore enhanced baking! Utilize the automatic mix-in dispenser, convection baking, dough, and pizza dough settings for versatile and consistently perfect results․
Utilizing the Automatic Mix-In Dispenser
The automatic mix-in dispenser is a fantastic feature, simplifying bread making by adding ingredients at the optimal moment during the cycle․ This ensures ingredients like nuts, seeds, dried fruits, and herbs are evenly distributed without being crushed prematurely․ Simply place your desired additions into the dispenser during the initial setup, and the machine will handle the rest!
This feature is particularly useful for creating customized loaves with varied textures and flavors․ It eliminates the need to manually interrupt the kneading process, maintaining consistent dough development․ Remember to check the recipe guidelines for appropriate quantities to use with the dispenser, as overfilling can affect the final product․ Enjoy the convenience and enhanced flavor possibilities!
Convection Baking: How it Improves Results
Convection baking within the Cuisinart bread maker utilizes a fan to circulate hot air, resulting in more even heat distribution throughout the loaf․ This leads to a superior crust – consistently golden brown and delightfully crisp – compared to traditional baking methods․ The circulating air also promotes a more uniform crumb structure, eliminating dense or soggy spots within the bread․
This technology is especially beneficial for artisan-style loaves and recipes requiring a well-developed crust․ It ensures consistent results, regardless of loaf size or ingredient composition․ Utilizing convection baking consistently delivers bakery-quality bread in the comfort of your home, enhancing both texture and flavor․
Dough & Pizza Dough Settings
The Cuisinart bread maker isn’t limited to just bread! Dedicated dough settings expertly handle kneading and initial rising for various doughs, saving you valuable time and effort․ Specifically, the pizza dough setting optimizes the process for creating perfectly textured pizza crusts, ready for your favorite toppings․
These settings allow for hands-off dough preparation, freeing you to focus on other tasks․ Simply add ingredients, select the appropriate setting, and let the machine do the work․ The resulting dough is consistently smooth and elastic, ideal for breads, rolls, or, of course, homemade pizzas – offering versatility beyond basic loaf baking․
Troubleshooting Common Issues
Encountering problems? This section addresses frequent concerns like the machine not powering on, collapsed loaves, or deciphering error codes for smooth baking․
Bread Maker Not Turning On
Is your Cuisinart bread maker failing to power up? First, ensure the unit is securely plugged into a functioning electrical outlet․ Verify the outlet is delivering power by testing it with another appliance․ Double-check the power cord for any visible damage – frays or cuts could indicate a safety hazard and require replacement․
Next, confirm the lid is properly closed and locked․ The bread maker features a safety mechanism that prevents operation if the lid isn’t securely fastened․ Finally, review the user manual for any specific reset instructions or troubleshooting steps related to power failures․ If these steps don’t resolve the issue, contact Cuisinart customer support for further assistance, potentially indicating an internal component malfunction․
Loaf Collapses or is Dense
Experiencing a sunken or heavy loaf? Several factors can contribute to this issue․ Insufficient yeast is a common culprit – ensure you’re using fresh, active yeast and measuring it accurately․ Excessive liquid can also weaken the dough structure, leading to collapse․ Conversely, too much flour results in a dense, dry loaf․
Verify ingredient measurements and follow the recipe precisely․ Consider the flour type; high-protein bread flour generally yields better results․ Additionally, ensure the dough cycle completes fully before baking․ A premature baking cycle can result in an under-developed loaf․ Experiment with slightly reducing liquid or increasing yeast for improved texture․
Error Codes and Their Meanings
Decoding error messages is crucial for troubleshooting․ While specific codes vary by model (CBK-200, CBK-110), common errors indicate issues․ An “Err 1” or similar often signals a temperature sensor malfunction, requiring service․ “Err 2” might point to a stuck kneading paddle – stop the machine and carefully remove any obstructions․
If the display shows “Err 3”, it could indicate a power surge or internal component failure․ Always unplug the bread maker before inspecting․ Refer to your specific model’s manual for a complete list of error codes and recommended solutions․ Contact Cuisinart customer support if the error persists after attempting basic troubleshooting․
Care and Maintenance
Regular cleaning ensures longevity! Always unplug before cleaning; wipe down the exterior and hand wash removable parts to maintain peak performance․
Cleaning Your Cuisinart Bread Maker
Prioritize safety first: always unplug the bread maker and allow it to cool completely before initiating any cleaning procedures․ The baking pan and kneading paddle are removable and should be hand-washed with warm, soapy water after each use․ Avoid abrasive cleaners or scouring pads, as these can damage the non-stick coating․
The exterior of the bread maker can be wiped clean with a damp cloth․ For stubborn residue, a mild detergent solution may be used, followed by a thorough rinsing with a clean, damp cloth․ Never immerse the bread maker housing in water or any other liquid․ Ensure all parts are completely dry before reassembling and storing․ Regular cleaning prevents buildup and ensures optimal performance and longevity of your Cuisinart convection bread maker․
Storage Instructions
Proper storage extends the life of your Cuisinart bread maker․ Before storing, ensure the unit is completely cool, clean, and dry․ Store the bread maker in a cool, dry place, away from direct sunlight and moisture․ Avoid storing it near heat sources or in areas prone to temperature fluctuations․
When storing for extended periods, it’s advisable to keep the baking pan and kneading paddle inside the unit to prevent dust accumulation․ Do not wrap the cord tightly around the appliance, as this can damage the wiring․ A loosely coiled cord is preferable․ Store the manual and any included accessories alongside the bread maker for easy access when needed; Careful storage ensures your appliance remains in optimal condition․